The Ultimate Homemade Cheese Garlic Bread Recipe
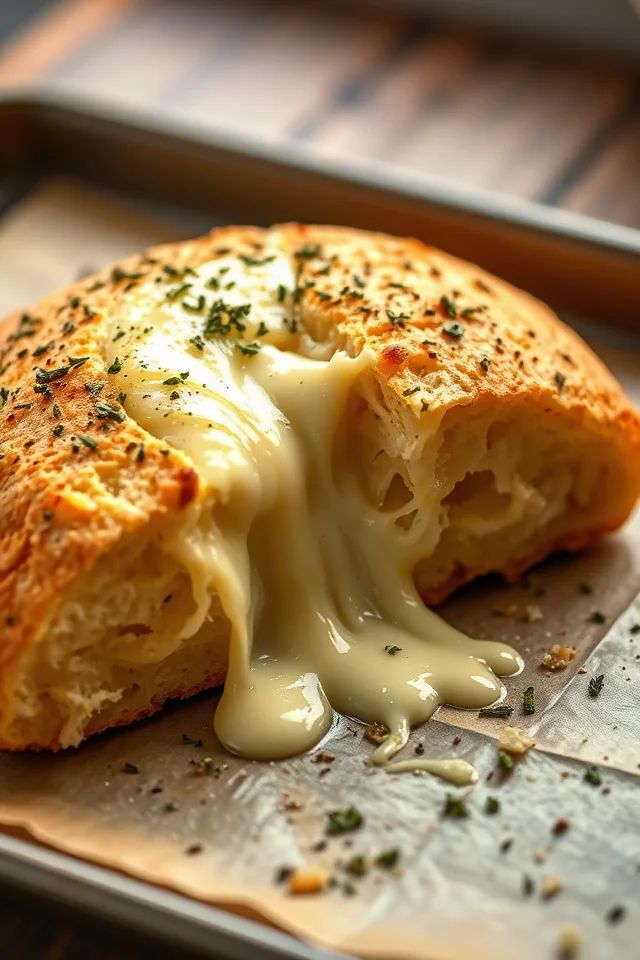
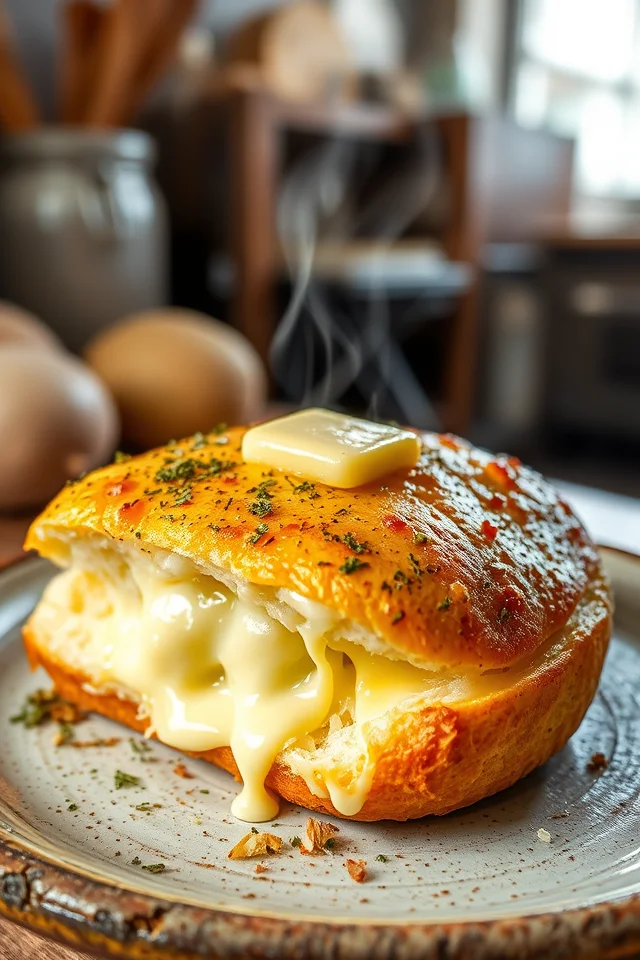
There’s something truly magical about freshly baked cheese garlic bread. That golden, crispy exterior giving way to soft, fluffy layers inside, all infused with rich garlicky butter and melted cheese. This isn’t just any garlic bread recipe – this is the ultimate homemade cheese garlic bread that will have everyone asking for seconds!
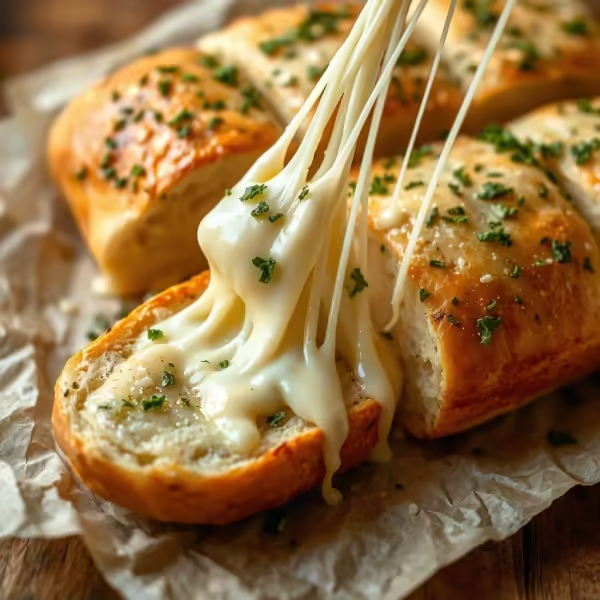
Whether you’re hosting a dinner party or just craving the ultimate comfort food, this recipe delivers restaurant-quality results right in your home kitchen. The best part? You’ll experience that perfect cheese pull with every slice!
Prep Time: 30 minutes
Rising Time: 2 hours
Cook Time: 30 minutes
Total Time: 3 hours
Servings: 8-10 slices
Why This Recipe Works

- Soft, fluffy texture from properly kneaded dough
- Rich garlic flavor in every bite from our special garlic butter spread
- Perfect cheese pull thanks to strategic cheese layering
- Crispy golden exterior with a pillowy interior
- Fool-proof instructions even for beginner bakers
Ingredients You’ll Need
For the Dough:
For the Garlic Butter Spread:
Instructions
1. Preparing the Dough
- Create the yeast mixture: Combine 225ml room temperature milk with 30g sugar and 1.5 teaspoons of instant dry yeast. Mix well and set aside.
- Mix dry ingredients: In a large bowl, sift 300g bread flour and add 5g salt. Whisk to combine evenly.
- Form the dough: Slowly pour the yeast mixture into the flour and mix until well combined. The mixture will be slightly sticky at first.
- Knead the dough: Transfer to a lightly floured surface and knead for 3-4 minutes until smooth.
- Add butter: Incorporate soft butter into the dough and continue kneading for about 15 minutes by hand (or 7-8 minutes in a stand mixer) until the dough becomes soft, smooth and elastic.
- Test the dough: Perform the windowpane test – stretch a small piece of dough; if it becomes thin and translucent without tearing, your dough is ready!
2. First Rise
- Create the perfect environment: Place your dough in a greased bowl and cover with a damp cloth.
- Pro tip for cold kitchens: Place the covered dough in a switched-off oven or microwave with a glass of hot water beside it. This creates a warm, humid environment perfect for rising.
- Let it rise: Allow the dough to double in size (approximately 1 hour).
3. Making the Garlic Butter
While the dough is rising:
- In a small bowl, combine 2 tablespoons garlic paste, 50g soft butter, 1 teaspoon chili flakes (if using), chopped parsley, and salt to taste.
- Mix until smooth and creamy. Set aside.
4. Assembly
- Punch down: Once risen, gently punch down the dough to release air bubbles.
- Shape the dough: On a lightly floured surface, roll the dough into a smooth, even rectangle.
- Add flavor: Spread the garlic butter mixture generously across the entire surface of the dough.
- Cheese time: Layer cheese evenly on top of the garlic butter.
- Create layers: Cut into strips and stack them on top of each other to create layers of garlic butter and cheese.
- Transfer to pan: Place the stacked layers into a bread mold, leaving some space for the final rise.
5. Second Rise and Baking
- Final proofing: Cover and let the dough rise for another hour until puffy.
- Preheat: Set your oven to 180°C (350°F).
- Final touch: Brush any remaining garlic butter over the top of the dough.
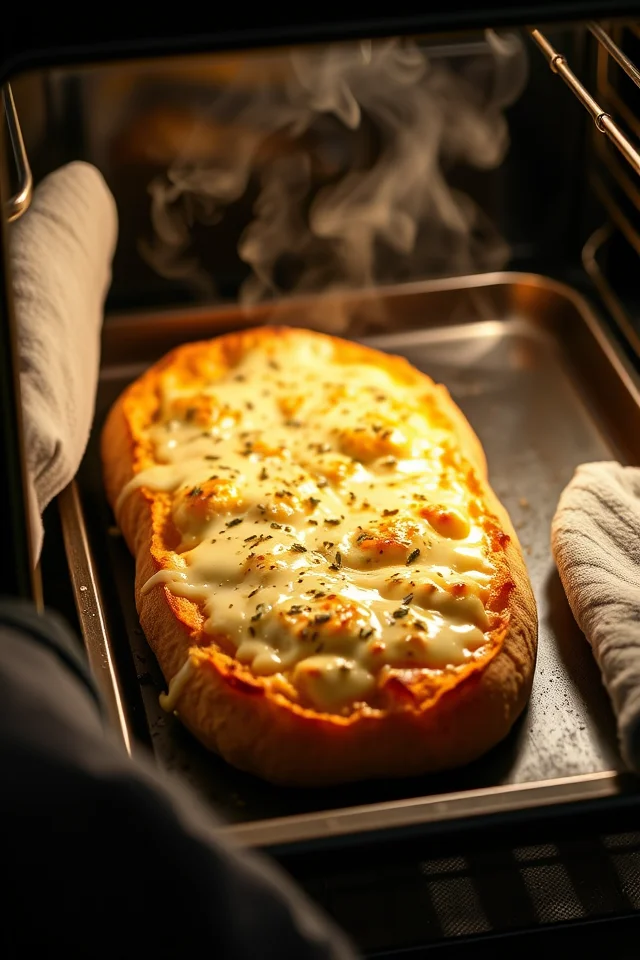
- Bake: Place in the preheated oven and bake for approximately 30 minutes until golden brown.
Nutrition Values (Per Serving)
| Nutrient | Amount | % Daily Value* |
|---|---|---|
| Calories | 325 | 16% |
| Total Fat | 18g | 23% |
| Saturated Fat | 11g | 55% |
| Cholesterol | 48mg | 16% |
| Sodium | 520mg | 23% |
| Total Carbohydrates | 34g | 12% |
| Dietary Fiber | 1.5g | 5% |
| Sugars | 4g | – |
| Protein | 8g | 16% |
| Calcium | 220mg | 17% |
| Iron | 1.8mg | 10% |
| Potassium | 120mg | 3% |
*Percent Daily Values are based on a 2,000 calorie diet. Your daily values may be higher or lower depending on your calorie needs.
Serving Suggestions

Serve your cheese garlic bread warm, straight from the oven when the cheese is still gooey. Pull apart the layers to experience that Instagram-worthy cheese pull! This bread pairs perfectly with:
- Pasta dishes
- Soups and stews
- BBQ meals
- Or simply enjoy it on its own as a snack!
Make Your Own Garlic Paste
Want to elevate your garlic bread even further? Make your own garlic paste:
- Cook garlic cloves in oil until soft
- Blend into a smooth puree
- Store in an airtight container in the refrigerator
Tips for Success

- Room temperature ingredients: Ensure your milk isn’t too hot or too cold to activate the yeast properly.
- Proper kneading: Don’t skip the kneading time – it develops the gluten that gives your bread that perfect texture.
- Be patient: Both rising periods are crucial for developing flavor and texture.
- Check your yeast: If using active dry yeast instead of instant, activate it first in warm milk before adding to other ingredients.
- Cheese choice matters: Choose a good melting cheese like mozzarella, provolone, or a cheese blend.
FAQ
Can I use all-purpose flour instead of bread flour?
Yes! Just reduce the liquid slightly as all-purpose flour absorbs less moisture than bread flour.
Can I make this ahead of time?
You can prepare the dough a day ahead and refrigerate it after the first rise. Allow it to come to room temperature before shaping and completing the second rise.
How do I store leftovers?
Store in an airtight container at room temperature for up to 2 days. Reheat in the oven for 5-10 minutes to restore the crispy exterior.
Can I freeze this bread?
Yes! After baking and cooling completely, wrap tightly and freeze for up to 3 months. Thaw and reheat in the oven.
Conclusion
This homemade cheese garlic bread isn’t just food – it’s an experience. The aroma that fills your kitchen, the satisfaction of creating something from scratch, and that first bite into layers of garlicky, cheesy heaven makes every minute of preparation worth it. Try this recipe this weekend and transform your kitchen into the most popular spot in the house!

