Cookies & Cream New York Cookies Recipe
Hey cookie lovers! I’m absolutely thrilled to share one of my most requested recipes with you today. The demand has been so incredible that I simply had to share this recipe with all of you wonderful home bakers!
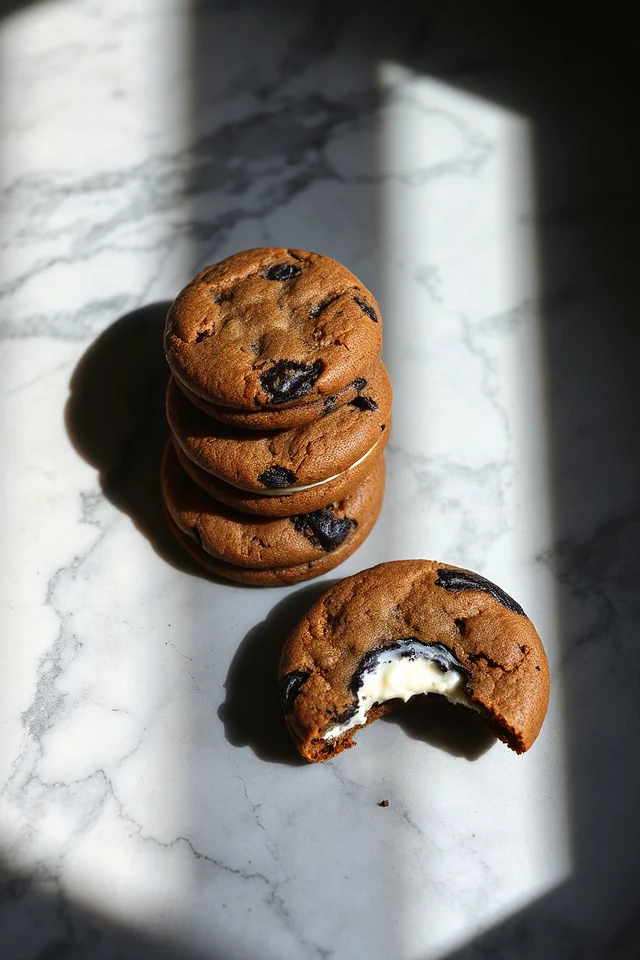
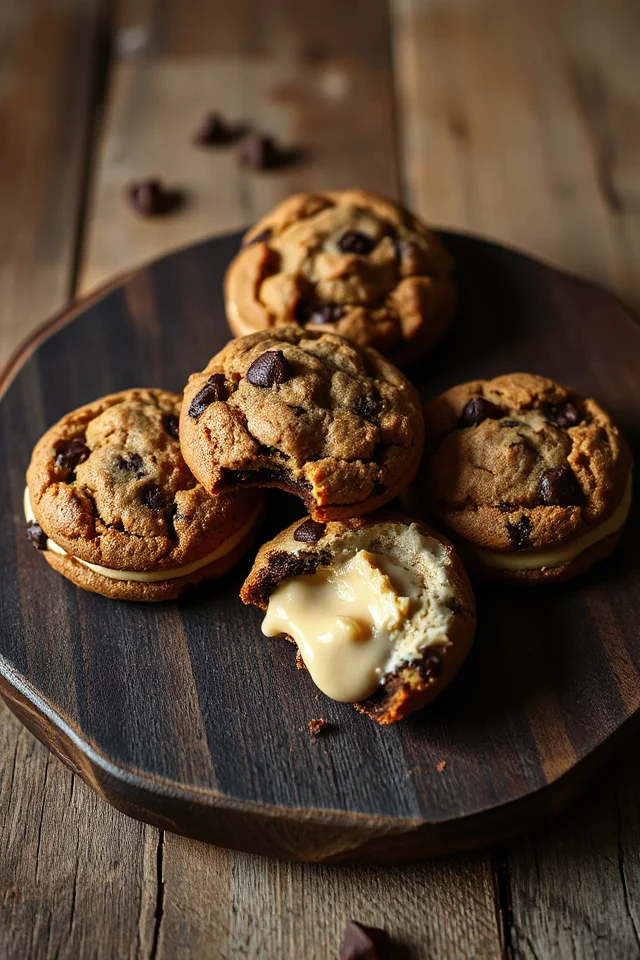
These aren’t your average cookies – they’re beast-sized, New York-style beauties with a perfectly craggy exterior and the most incredible surprise inside. Think of them as an elevated take on Oreo cookies, but so much better.

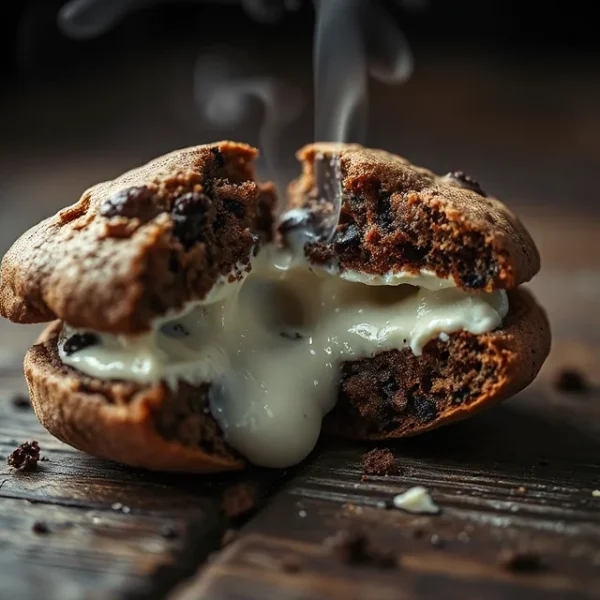
We’re talking rich, dark chocolate cookie dough studded with white and dark chocolate chips, crushed Oreo pieces, and here’s the kicker – a frozen white chocolate spread center that creates the most amazing gooey filling when baked.
The secret to these cookies is all in the technique. We keep the butter cold, barely mix the dough to maintain that rustic, craggy texture, and freeze everything twice for the perfect structure. Trust me, the extra steps are absolutely worth it when you bite into that warm, crispy exterior and hit that molten center!
Prep Time: 45 minutes (plus freezing time)
Cook Time: 16 minutes
Total Time: 5+ hours (including freezing)
Yield: 12 large cookies
Difficulty: Intermediate
Ingredients
For the White Chocolate Filling:
For the Cookie Dough:
Instructions
- Prepare the White Chocolate Filling Centers – Start by scooping out 12 portions of white chocolate spread, using just under a tablespoon for each portion. Place these blobs on a small tray lined with parchment paper and freeze for at least 30 minutes until completely solid. If you can’t find white chocolate spread, simply use small pieces or squares of white chocolate instead – they’ll melt beautifully during baking to create that gooey center we’re after.
- Combine the Dry Ingredients – In a large mixing bowl, whisk together the plain flour, self-raising flour, black cocoa powder, salt, and baking powder until well combined. This mixture creates the foundation of our rich, chocolatey flavor. Black cocoa gives these cookies their intense, almost-Oreo-like taste, but regular cocoa powder works perfectly fine if that’s what you have on hand.
- Prepare the Egg Mixture – In a separate bowl, whisk together the two whole eggs and one egg yolk until smooth. Having this ready beforehand prevents overmixing later, which is crucial for maintaining the proper texture of these New York-style cookies.
- Create the Cookie Base – Using a stand mixer fitted with the paddle attachment, combine the cold, cubed butter with both sugars on low speed. Mix until the mixture resembles chunky rubble – you’re not looking for a smooth, creamy texture here. The cold butter and minimal mixing are key to achieving that signature craggy appearance.
- Add the Mix-ins – Fold in the dark chocolate chips, white chocolate chips, and crushed Oreo cookies, mixing on low speed just until combined. The mixture should still look quite rubbly and chunky – this rustic texture is exactly what we want for authentic New York-style cookies.
- Incorporate the Dry Ingredients – Add the flour mixture to the butter mixture and mix on low speed until it reaches a sandy consistency with visible chunks of chocolate and butter throughout. Don’t worry if it looks a bit rough – that’s perfect! The goal is to just barely bring everything together without overworking the dough.
- Finish the Dough – Pour in the egg mixture and mix on low speed just until the dough comes together into what I like to call “cookie rubble.” It should look quite rough and craggy, not smooth. Turn this mixture out onto your work surface – I know it seems crazy, but trust the process!
- Shape the Cookie Dough Balls – Using kitchen scales, portion the dough into 125g pieces (this is crucial for getting that authentic bakery-style size). For each cookie, barely squeeze the dough together – you want to maintain that uneven, craggy appearance rather than creating smooth balls. Make a deep indentation with your thumb in each portion.
- Add the Frozen Centers – Take one frozen white chocolate spread ball and press it into the thumb indentation you created. Gently squeeze the cookie dough around the filling to enclose it, but don’t overwork it. The goal is to barely contain the filling while keeping that rustic exterior texture intact.
- Apply the Final Oreo Coating – Roll each cookie ball lightly in additional crushed Oreo pieces, pressing gently to help them adhere to the surface. Don’t worry if the coating isn’t perfectly even – the rustic, uneven appearance is part of these cookies’ charm. Place the shaped cookies in a container and freeze for at least 4 hours, preferably overnight, until rock solid.
- Bake to Perfection – Preheat your oven to 190°C (170°C fan-assisted). Place the frozen cookie dough balls on a baking sheet lined with parchment paper, leaving plenty of space between each cookie as they’ll spread significantly. Bake for exactly 16 minutes – this precise timing gives you that perfect combination of a crispy exterior with a soft, gooey center.
- Cool and Enjoy – Let the cookies cool on the baking sheet for at least 10 minutes before transferring, as they’ll be quite fragile when hot. The centers will be molten and the cookies will firm up as they cool. Serve warm for the ultimate gooey experience, or enjoy at room temperature for a more traditional cookie texture.

Nutrition Information (Per Cookie)
| Nutrient | Amount | % Daily Value* |
|---|---|---|
| Calories | 485 | 24% |
| Total Fat | 24g | 31% |
| Saturated Fat | 15g | 75% |
| Cholesterol | 75mg | 25% |
| Sodium | 320mg | 14% |
| Total Carbohydrates | 65g | 24% |
| Dietary Fiber | 3g | 11% |
| Total Sugars | 45g | – |
| Protein | 7g | 14% |
| Calcium | 80mg | 6% |
| Iron | 2.5mg | 14% |
*Percent Daily Values are based on a 2,000 calorie diet.
Frequently Asked Questions
Can I make these cookies without white chocolate spread?
Absolutely! If you can’t find white chocolate spread, simply use small pieces or squares of white chocolate instead. They’ll melt during baking to create a similar gooey center effect.
Why do the cookies need to be frozen twice?
The first freeze solidifies the white chocolate centers so they don’t melt and leak out during shaping. The second freeze ensures the entire cookie holds its shape during baking and prevents excessive spreading, which is crucial for that thick, bakery-style texture.
Can I use regular cocoa powder instead of black cocoa?
Yes! Black cocoa gives a more intense, Oreo-like flavor and darker color, but regular cocoa powder works perfectly fine and will still taste delicious.
How long do these cookies stay fresh?
Store them in an airtight container at room temperature for up to 5 days. For the best gooey center experience, warm them slightly in the microwave for 10–15 seconds before serving.
Can I make smaller cookies?
While you can make them smaller, the 125g size is what gives these their authentic New York bakery-style appearance and texture. If you make them smaller, reduce the baking time accordingly.
My dough seems too crumbly – is this normal?
Yes! The dough is supposed to look like “cookie rubble” rather than a smooth, traditional cookie dough. This rough texture is what creates the signature craggy appearance when baked.
Conclusion
There you have it – the secret to creating bakery-quality cookies and cream cookies right in your own kitchen! These New York-style beauties might require a bit more time and patience than your average cookie recipe, but I promise you that first bite into that crispy exterior followed by the molten white chocolate center will make every minute worth it.
The key to success with these cookies is embracing the rustic, imperfect appearance and resisting the urge to overmix or over-handle the dough. Remember, we’re going for that authentic, craggy bakery look that makes each cookie unique and absolutely irresistible.
I hope you love making (and eating!) these cookies as much as i do. Don’t forget to share your creations with friends and family – though I warn you, once people try these, they’ll be begging you for the recipe too! Happy baking, and remember, the best cookies are made with love and a little bit of beautiful mess.


